
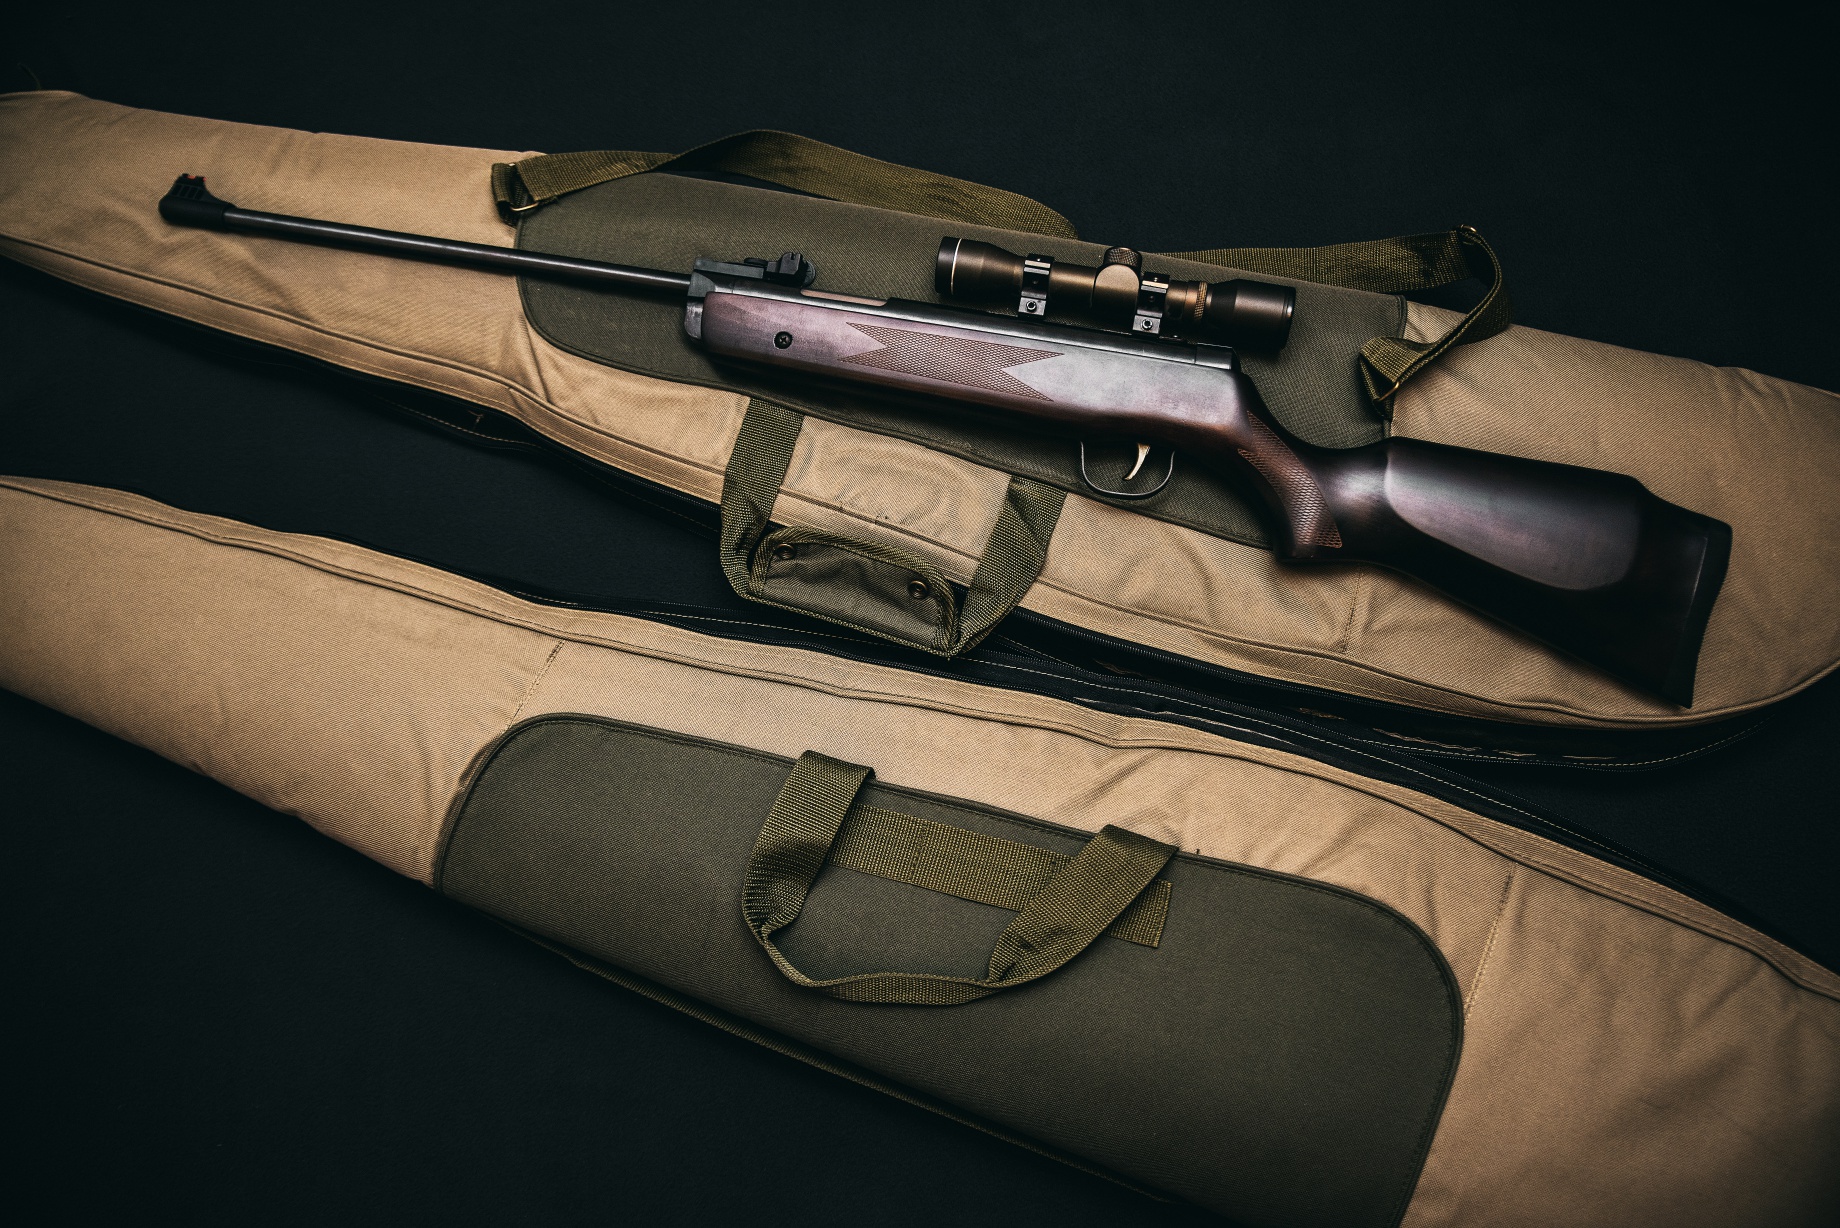
Rifle owners know exactly how critically important it is to effectively use a rifle scope. Commonly referred to by short as “glass”, a rifle scope is used to view distant targets and surrounding objects magnified to seem closer. Many scopes are also designed to identify a potential bullet’s point of impact. When used effectively, rifle scopes provide safer and more accurate shooting in the field.
Scope Terminology
Newcomers trying to research the right scope for their rifle may encounter a baffling array of terms. To effectively use a rifle scope, it’s important to know its essential components.
Body – Sometimes called “the tube”, this is the diameter of a rifle scope. One inch or 30mm are common sizes.
Adjustment knobs – on rifle scopes, knobs come in a variety of forms, including turrents, flat tip screws or finger pressure knobs that are adjusted to change elevation and windage.
Elevation – Just like it sounds, elevation refers to the vertical – or up and down – motion of the potential bullet’s trajectory.
Windage – Regardless of its source, windage refers to horizontal – or left and right – motion that would affect the potential bullet’s trajectory.
Reticle – Rifle scopes come with a variety of reticle styles, including mil dots and cross hairs. The reticle is used to estimate the landing point of a potential bullet. Some complex reticles use lines to compensate for bullet drop or other environmental factors. Some reticles are illuminated via battery or by using ambient light.

via Wikipedia
Eye Relief – this term refers to the distance between the shooter’s eye and the leans at the rear end of the scope. Eye relief is calculated by measuring the maximum distance that the shooter can see a full crisp view with no dark ring around the edges. Proper eye relief distances are a critical safety factor in preventing eye damage caused by high recoil calibers. Learn more about eye relief from Buckmasters here.
Sites – sometimes referred to as iron sites, these are two metal indicators physically mounted on the shaft of the rifle to provide for an approximation of the path of travel for a potentially fired bullet. These generally do not provide the accuracy or adjustment flexibility offered by a lensed rifle scope.
Parallax – Some modern rifle scopes are equipped to measure parallax, a term that refers to the optical difference between the view presented in the scope and the reticle. By adjusting the rate of parallax, the reticle can be precisely brought into optical focus on the intended target.
Waterproof/Fogproof – Quality rifle scopes are sealed with O-rings to provide waterproof protection. Some rifle scopes are classified as fogproof, which means they have been filled with nitrogen. Fogproof and waterproof scopes can be immersed in water and remain completely dry, and thus are reliable in all weather conditions.
Power – Rifle scopes are often identified by their power of magnification, referring to how many times the view through the scope has been enlarged. The magnification power of scopes is usually expressed by two numbers, such as 4×32. This simple notation means that the scope in question has the ability to magnify a viewed object from four to 32 times its original size.
Optical coatings – some rifle scope lenses are treated by special coatings to help adjust for brightness and the ability of a scope to gather light, allowing for higher contrast and brighter images. Coatings are described as:
- Coated = A single layer on at least one lens surface.
- Fully Coated = A single layer on all air-to-glass lens surfaces.
- Multi-Coated = Multiple layers on at least one lens surface.
- Fully Multi-Coated = Multiple layers on all air-to-glass surfaces.
Scope Basics
The purpose of the scope is to allow shooters precise information as to where any potentially fired bullet will land. After a scope has been mounted to the rifle, the first step is to “zero” the scope, or to adjust various alignments until it provides accurate information. Key information about bullet’s caliber, velocity and weight is then used to make precise calculations to adjust the scope for maximum accuracy.
Additionally, various environmental factors must be taken into consideration, including elevation, shot angle, humidity, windage (horizontal air movement), and the presence of a head or tail wind, in order to compensate for the bullet’s trajectory. The distance to the ground as well as the ground temperature compared to air temperature can be used to calculate bullet lift or drop.
Once parallax has been used to make precise adjustments, range can be accurately compensated for. Finally, the reticle of the rifle scope is placed on the intended target at your zero distance. Done correctly, the rifle scope is now ready to provide accurate guidance in achieving precise targeting.
Looking to purchase a rifle scope? A common rule of thumb is that a rifle scope should cost approximately half of what the rifle itself did, although recent advances in precise machining have led to a drop in prices. Check out our buying guide of the best scopes on the market here.
Warnings
It is extremely important to follow all local, state and federal laws while shooting. Many laws on firearms and scopes can change drastically between state to state, or even between different counties and cities. Check with the mandated jurisdictional authority for further guidance in the legality and applicable guidelines and restrictions for using scopes in your area.
As all experienced rifle owners know, firearms have the potential to be lethal or cause serious injuries. Rifles and scopes should only be used by potential shooters who are well educated in the safe handling and use of firearms.
Sighting In Your Scope
Most scopes are not adjusted properly out of the box, so additional adjustments will need to be done, depending on distance, velocity, wind, ballistic coefficient and much more. Sighting in a scope requires precision and patience on the shooter’s part.
The scope must first be bore sighted at 100 yards before making any other adjustments at the range. Bore sighting simply means adjusting the scope to where the bullet would hit the center of the cross hairs at a given distance, given the bullet has a perfectly flat trajectory. In reality, bullets do not have a flat trajectory, mainly because of gravity. Once the scope has been bore sighted at 100 yards, take a trip to a shooting range that has a distance of at least 100 yards. Some ranges are only for short distance, so going to an appropriate location in the mountains would be the best alternative. While taking this trip, bring a portable shooting bench rest. Distances should be accurately measured, rather than eyeballed.
First setup a large paper target at a 25 yard distance, preferably one that already has a bull’s eye. Before making any shots, get very comfortable with both the rifle and shooting bench. Any muscle tension or movement can easily throw-off a bullet. The best method is to avoid as much human contact with the rifle as possible. Pillows and folded blankets can make a big difference in comfort-ability. Use sandbags to rest the rifle on the shooting bench. Cat liter bags are a great alternative for those who cannot obtain sand bags.
While looking through the rifle scope, adjust it to where there is a clear image. Interestingly, the level just below the maximum magnification level is usually the clearest. Once a round is chambered and the cross hairs are over the bull’s eye, close the eyes for a good 10 seconds then open them. If the cross hairs moved from the target, then it means that there’s still muscle tension in the shooter. Find a comfortable position and keep doing this until the cross hairs don’t move.
Finally, fire a shot into the target once everything is lined up. It’s important to gently pull the trigger rather than suddenly tug it. Tugging at the trigger can throw off a shot. If the rifle moved while firing, then do it again. After firing a well-aimed shot, inspect the target to see where the bullet went. Sometimes, a person may be able to see the bullet hole through their scope, but they should definitely see it through a spotter scope. More than likely, the bullet won’t hit dead center on the target. However, it should hit somewhere on the target. Measure where the bullet hole is in respect to the bull’s eye and write it down. For instance, a miss that is three inches low and two inches to the right.
To make up for this, adjust the clicks on the scope according to the instructions. For an example, if it says that one click moves the center one-fourth of an inch at 100 yards, then multiply the number by four since the distance is only 25 yards. In the case where the bullet hit three inches low and two inches to the right, the person would want 48 clicks up and 32 clicks left. After everything is adjusted, take another shot at the target. Keep repeating this process until the bullet hits the center of the target. However, it doesn’t have to be a dead-center shot since the next step will be at 100 yards. If for some reason the bullet keeps missing the target, make sure that the scope is tightly mounted on the rifle, as this can dramatically affect shot placement.
Once everything is aligned at 25 yards, move the paper target out to 100 yards. Again, it’s important to actually measure it with some type of device. Repeat this very same process at the 100 yard mark, but wait until the rifle barrel has cooled down to ambient temperature, as barrel temperature may affect accuracy by causing more barrel harmonics. Wind is another factor to take into consideration. However, wind is a changing variable, so it would be wise to write down the click adjustments when there’s no wind. Doing so will allow one to easily adjust the scope while wind factors change.
For really long-range shooting, it’s best to have the bullet impact around three inches above the bull’s eye. This higher impact point will compensate for the bullet drop at longer distances, such as 300 or more yards. It also prevents the shooter from having to aim above the target. Keep in mind that different ammunition will give different trajectories. For instance, a lighter, faster bullet will have a flatter trajectory at relatively shorter distances but lower trajectory at longer distances. On the other hand, a heavier, slower bullet will have a lower trajectory at shorter distances but a flatter trajectory at longer distances.
In general, it’s best to stick with one particular type of ammunition, whether it’s factory or reloaded ammunition. Keeping one type of ammo will allow one to fine tune their accuracy. Once everything is adjusted, one will be able to shoot long distances without having to worry much about bullet drop. A scope has two main advantages. It allows one to see objects at longer distances in much greater detail. Two, it allows the person to compensate for bullet drop, which can’t accurately be done with iron sights. Keep in mind that scope adjustments are mainly up to the person’s liking. For instance, one doesn’t necessarily need to have the bullet impact a few inches higher at 100 yards.
Adjustments in the Field
Military snipers use elaborate methods for determining precise environmental conditions such as humidity and exact wind speeds in order to zero their scope in the field. For most outdoor shooters, it’s often wiser to use the reticle based on approximations of environmental conditions. Depending on the selected bullet, the zero range may cause the bullet’s point of impact to travel through the reticle location in the scope’s view.
If you want to see some videos of experts showing the rifle scope sight in process, here are some recommended ones to watch: